Handlebar console D 21-30 mm (MCC-101)
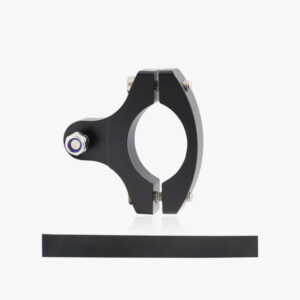
The equipment package includes:
– Steering tube clamp 1 pc.
– M4x16 A2-70 screw 2 pcs.
– M5x20 A2-70 screw 1 pc.
– D5 spring washer 1 pc.
– Rubber band 1
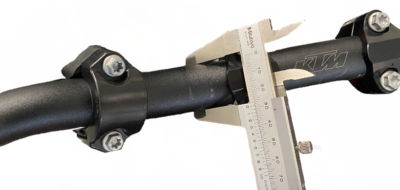
Measure the diameter of the steering wheel. The bracket is suitable for steering tubes between 20 and 30 mm. If you want to install the console on a tube with a diameter of less than 20 mm, you will need the additional adapter MCC-120. This allows you to mount the bracket on a minimum diameter of 12 mm.
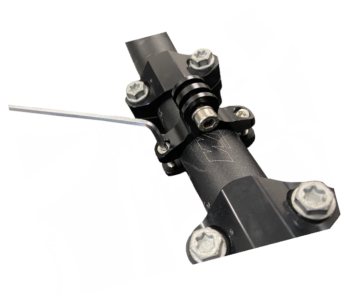
Place the bracket on the steering tube and insert the 2 M4 screws. Before tightening the screws, we recommend wrapping the rubber band under the clamp around the steering tube. This ensures a better grip and protects your polished or otherwise treated steering wheel from damage. In addition, the rubber plate helps to dampen vibrations. You can then install the device you have chosen for the console.
Adjustable mount (MCC-102)
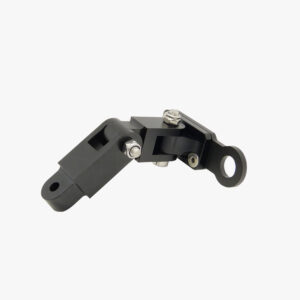
The equipment package includes:
– Adjustable mount 1 piece
– M5x20 A2-70 screw 3 pieces
– D5 spring washer 2 pieces
– Short extension 1 piece
– Long extension 1 piece
– M5 self-locking nut 1 piece.
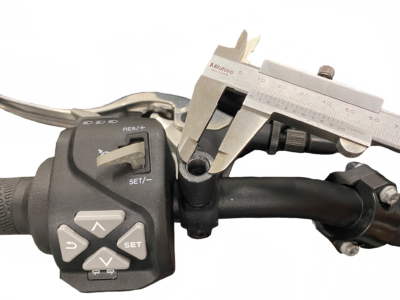
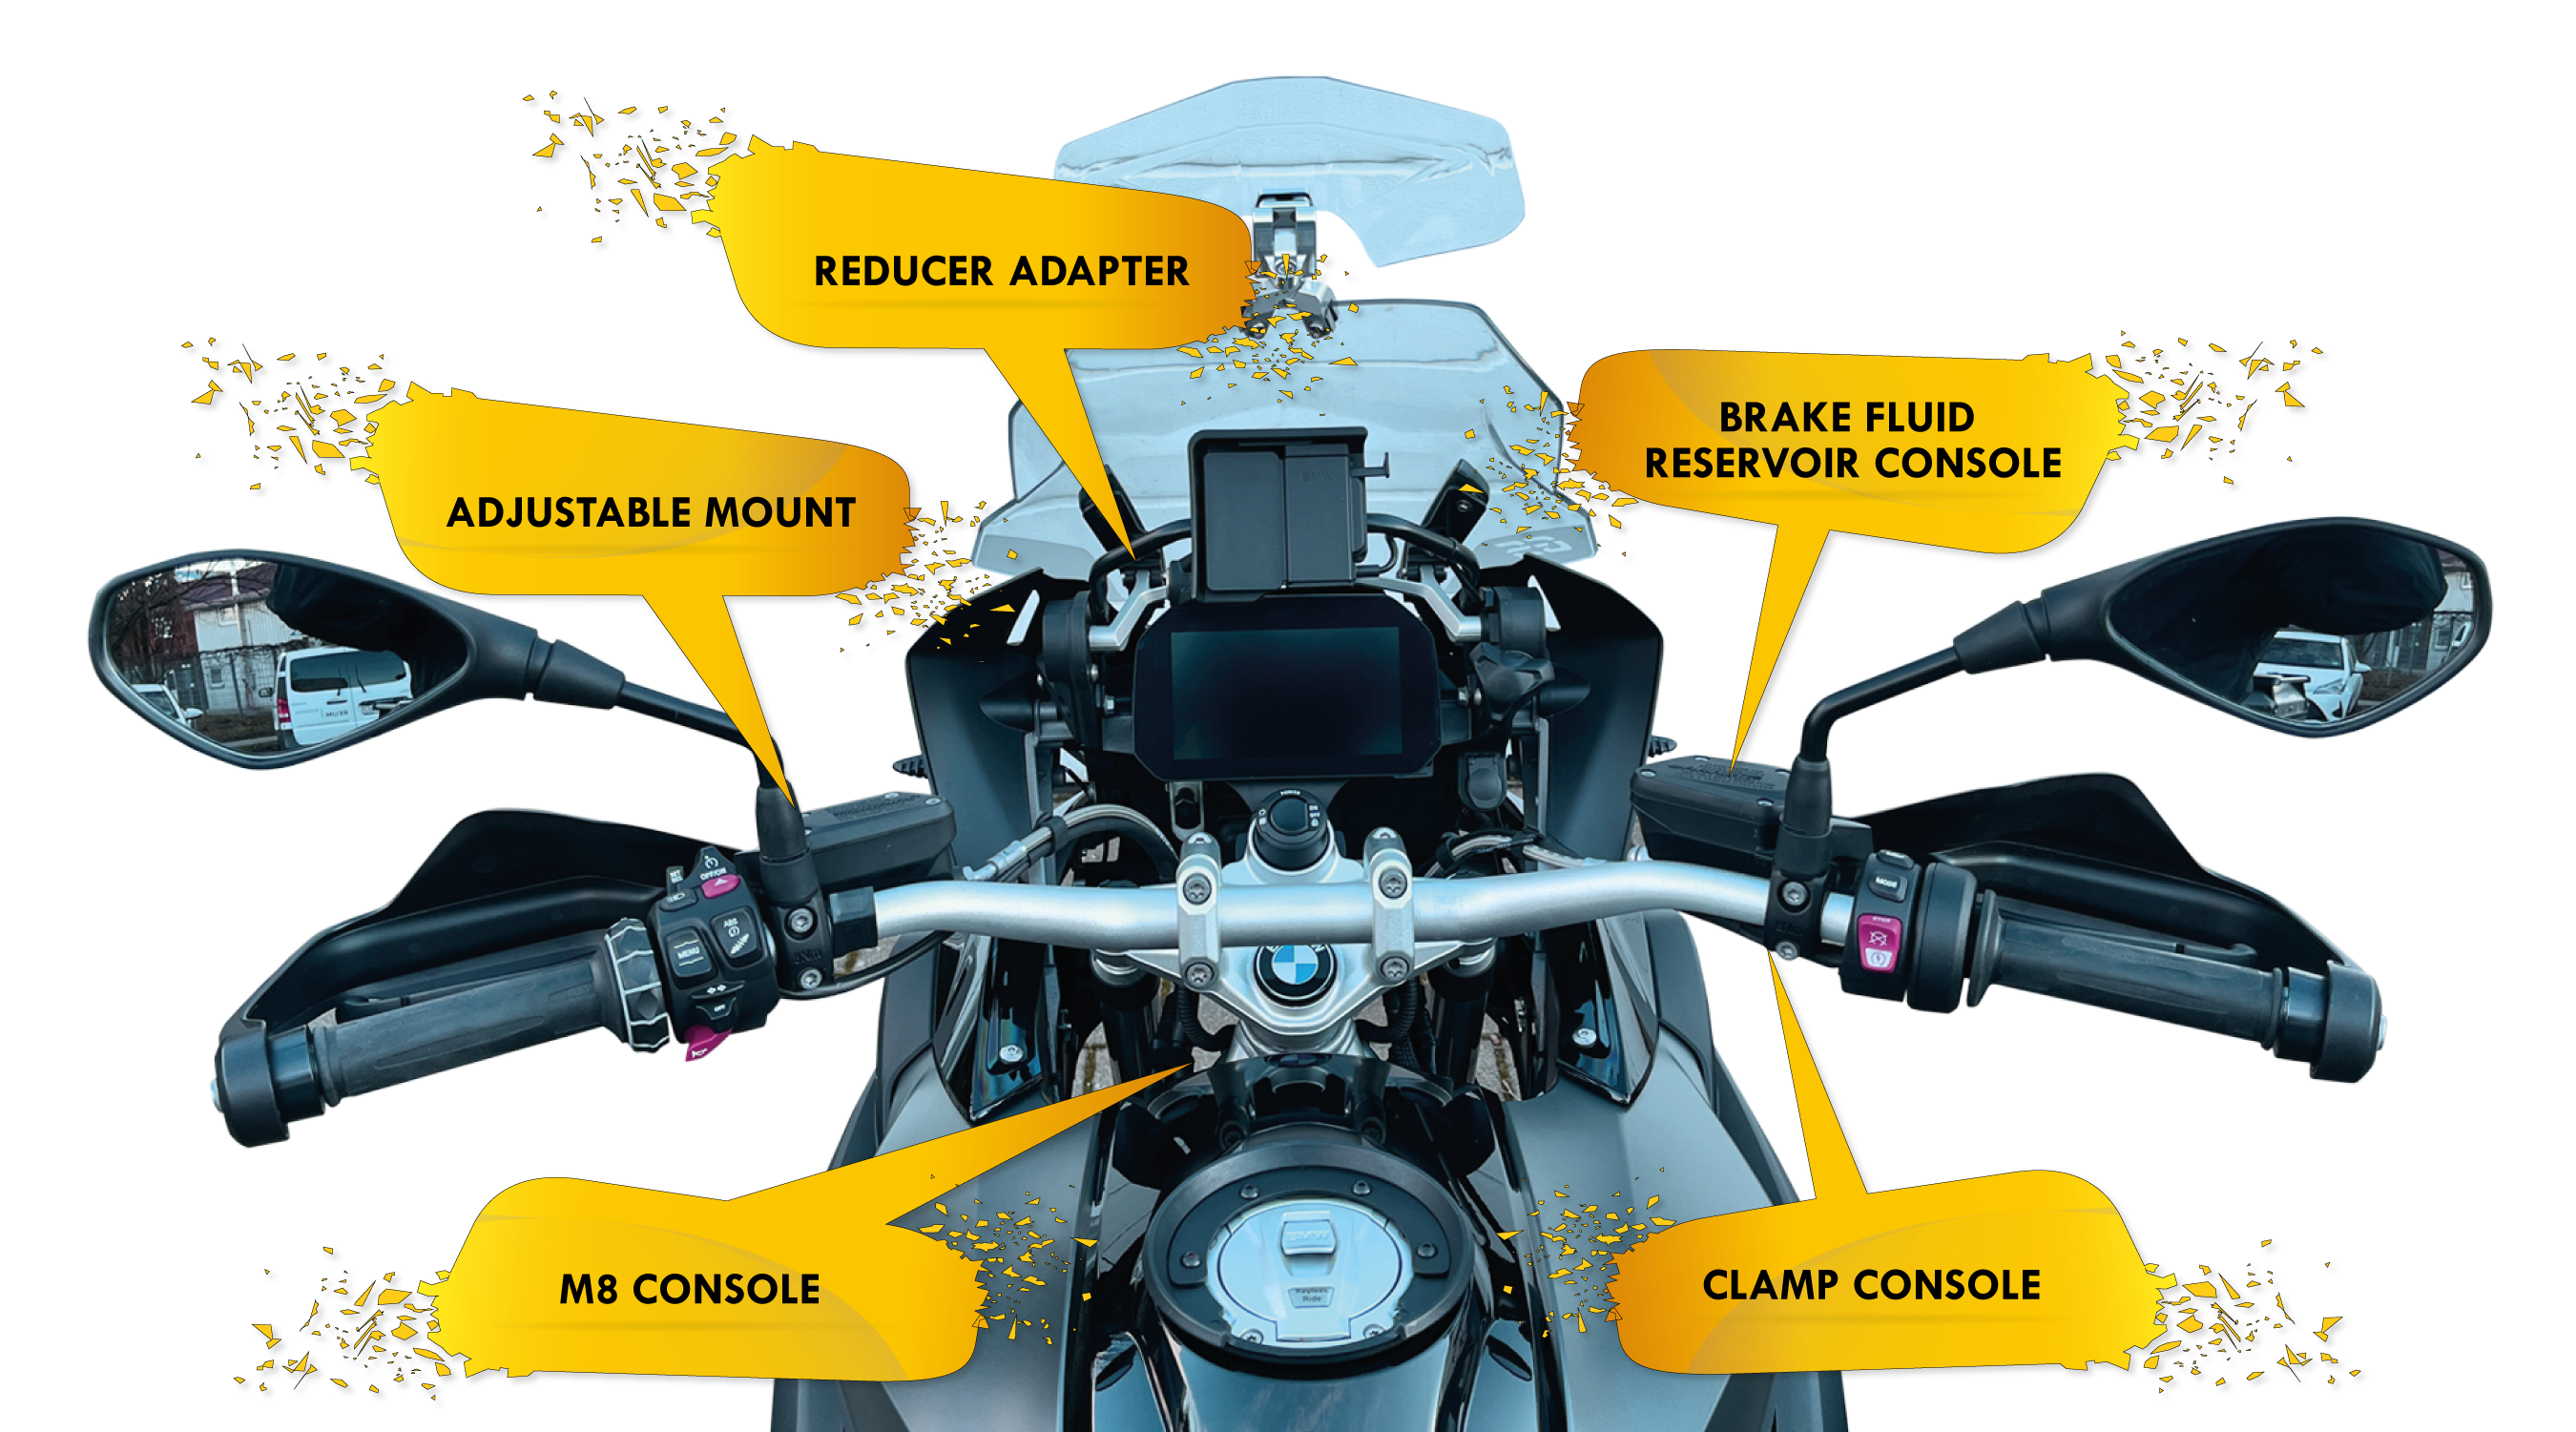
Measure the size of the mirror screw. The bracket is designed for the size of the M10 thread. Most motorcycles have mirror screws with this diameter.
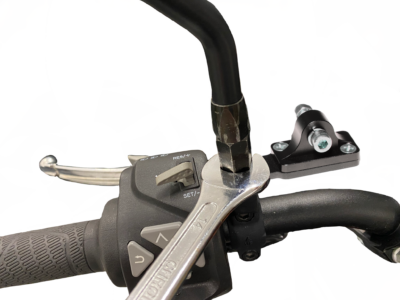
Unscrew the mirror. Insert the bracket into the threaded part of the mirror and screw the mirror back on.
Clamp console (MCC-103)
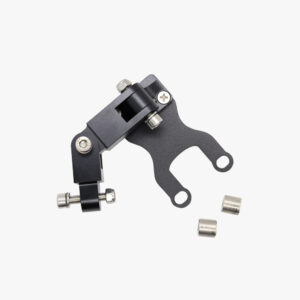
The equipment package includes:
– Clamp console 1 pc
– M5x20 A2-70 screw 3 pcs
– D5 spring washer 2 pcs
– Short extension 1 pc
– Long extension 1 pc
– M5 self-locking nut 1 pc
– M6-10 mm spacer set 2 pcs
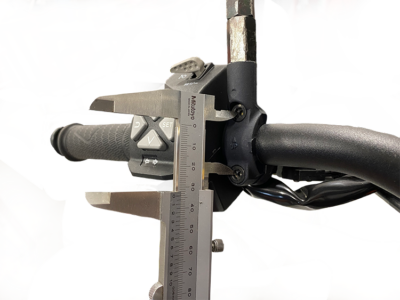
Measure the screw spacing on the brake/clutch lever. The bracket is suitable for a screw spacing between 29.5 and 33.5 mm.
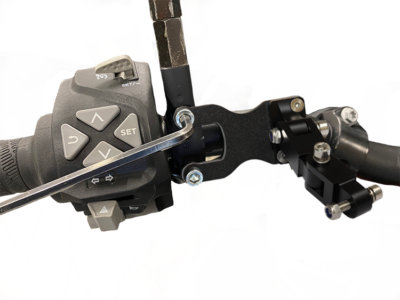
Loosen the screws that secure the lever. The bracket is usually equipped with cylindrical head screws. If the screws are countersunk, then use the spacers included in the package. In this case, new screws must be used that are longer than the factory ones. However, these are not included in this set!
Brake fluid reservoir console (MCC-104)
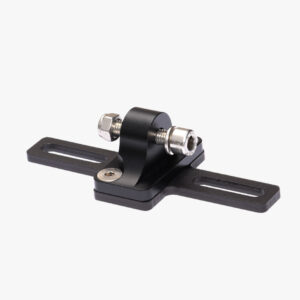
The equipment package includes:
– Console base plate 1 pc
– M5x20 A2-70 screw 3 pcs
– D5 spring washer 2 pcs
– M5 closed nut 1 pc
– Short extension 1 pc
– Long extension 1 pc.
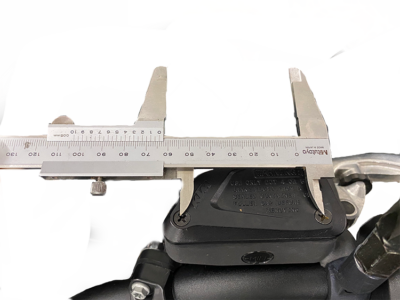
Measure the distance between the bolts that secure the brake tank cover. The bracket is suitable for a bolt spacing between 36 and 73 mm. Bolts can be M4 and M5. The cover is usually fitted with a countersunk head screw, which must be replaced with a cylindrical head. A washer may also be required.
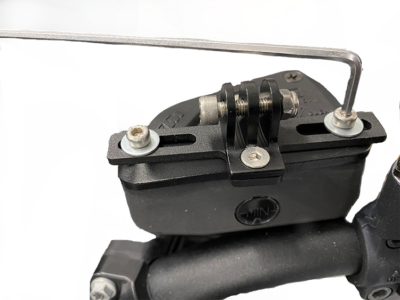
Place the bracket on the brake fluid reservoir. Then insert the new screws and tighten them. If necessary, you can adjust the position of your phone as desired using the extension pieces provided.
Fork stem D14-D18, Fork stem D18-D22, Fork stem D22-D26 (MCC-106, MCC-107, MCC-108)
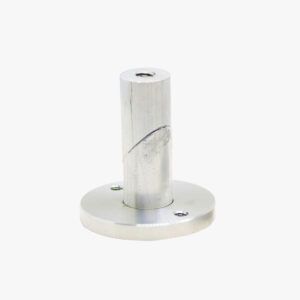
The equipment package includes:
– Steering tube bracket 1 pc
– M6x50 screw 1 pc
– M5x20 A2-70 screw 3 pcs
– D5 spring washer 2 pcs
– M5 nut 1 pc
– M4x6 countersunk head screw 1 pc
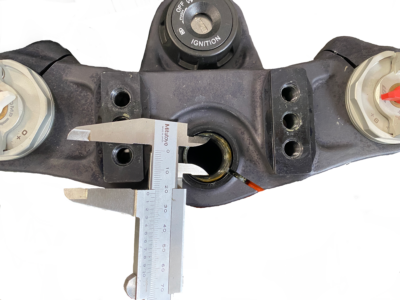
Measure the inner diameter of the center steering shaft. The console is made in 3 sizes: 14-18mm, 18-22mm, 22-26mm in diameter. Choose the console size that suits you.
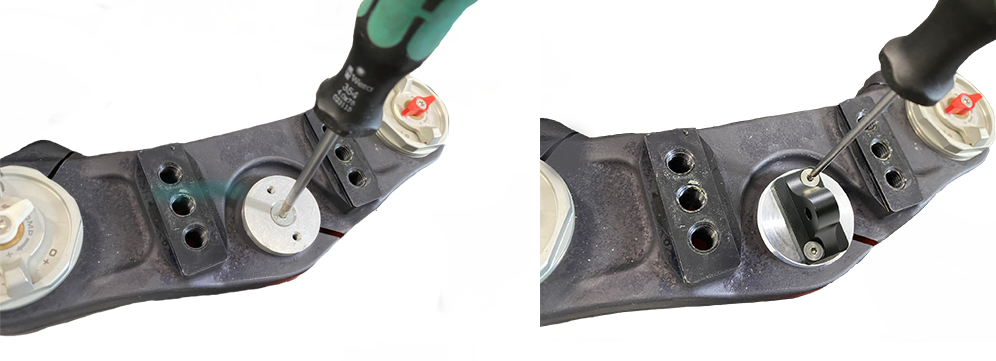
Insert the console into the hole. Then tighten the M6 mounting screw until the bracket is tightened in the hole. Place the base on top and screw in the two M4 screws.
M8 console (MCC-109)
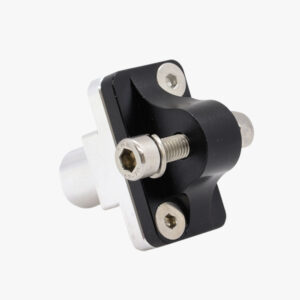
The equipment package includes:
– M8 console 1 pc
– M4x6 A2-70 screws 2 pcs
– M5x20 A2-70 screws 3 pcs
– D5 spring washers 2 pcs
– Bracket base piece 1 pc
– M8x60 A2-70 screw 1 pc
– M5 nut 1 pc
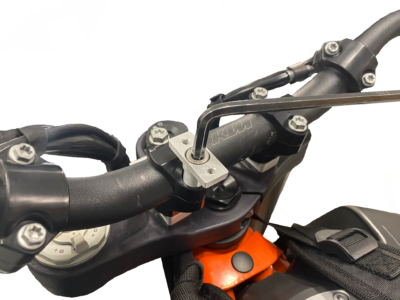
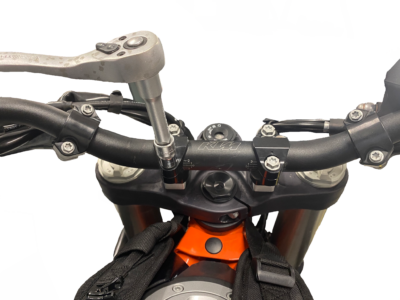
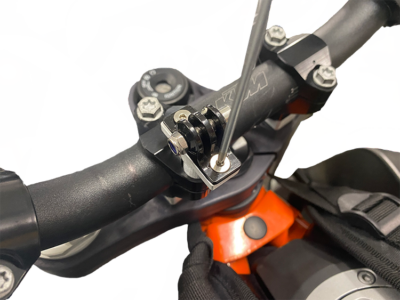
The console is designed for M8 screws that attach the handlebars. The bracket is designed to be replaced by one of the screws with a cylindrical head. The bracket is suitable for the use of screws with a head diameter of at least 13 mm and a depth of up to 15 mm. Of course, the console can be installed using any M8 screw.
Loosen the selected screw! Then insert the bracket with the longer screw. It is possible that a different screw than the one supplied is required. The new screw must be 20 mm longer than the original.
Finally, screw the base piece onto the bracket with the supplied M4 screws.



 Wireless chargers
 Wire Charger
 Classic
 SpringLock
 Integrated with charger

 Cables


